Contents
This page explains how customers using the Outlook Calendar linking feature prepare a "meeting room for appointments" to create appointments (external meeting).
Meeting room for appointments
Customers selected "Create reservation on Outlook calendar" as meeting reservation method
When creating an appointment on Outlook calendar, you must select a meeting room that has been imported into Acall.
If you do not select a meeting room, created appointment information will not be sync with Acall.
Customers selected "Create reservation on Acall" as meeting reservation method
When creating an appointment on Acall, you must select a meeting room.
Meeting room for appointments
If you have appointments that do not need a meeting room, you must prepare an alternative meeting room to select when creating the appointment.
e.g., meeting in a public space, etc.
Below are instructions on how to set up a meeting room for appointments.
💡 Note
The following steps are not required for customers who do not have "appointments without using a meeting room".
How to prepare a meeting room for appointments
There are two methods to set up a meeting room for appointments.
| Description | |
| A | <Recommend> Create one room that is allowed overlap. |
| B | Create as many meeting rooms as you need. |
We would recommend method A for the customers selected "Create reservation on Outlook calendar" as meeting reservation method.
If you choose method A, you don't need to select a meeting room when creating an appointment.
Meeting room is automatically selected when the [ Register Appointment ] button is clicked in Acall add-in.
💡 Note
If there are multiple meeting rooms that are allowed to overlap reservations, one of them will be automatically selected. It is not possible to specify which one.
Each method has different way to set up a meeting room for appointments and how to create an appointment.
Please select one or the other according to your needs as explained below.
How to prepare a meeting room for appointments
Method A: Create one room that is allowed overlap.
1. Create one meeting room for appointments on Microsoft 365.
2. Allow the created meeting room to overlap.
3. Import the meeting room into Acall
4. Allow the imported meeting room to overlap on Acall.
Please refer to "Allow overlap appointments" for the step 2 and 4 to allow overlapping appointments.
Method B: Create as many meeting rooms as you need
1. Create multiple meeting rooms for appointments on Microsoft 365
2. Import the meeting rooms into Acall
How to create appointments
Customers selected "Create reservation on Outlook calendar" as meeting reservation method
The overall process of creating appointments is the same for both Methods A and B.
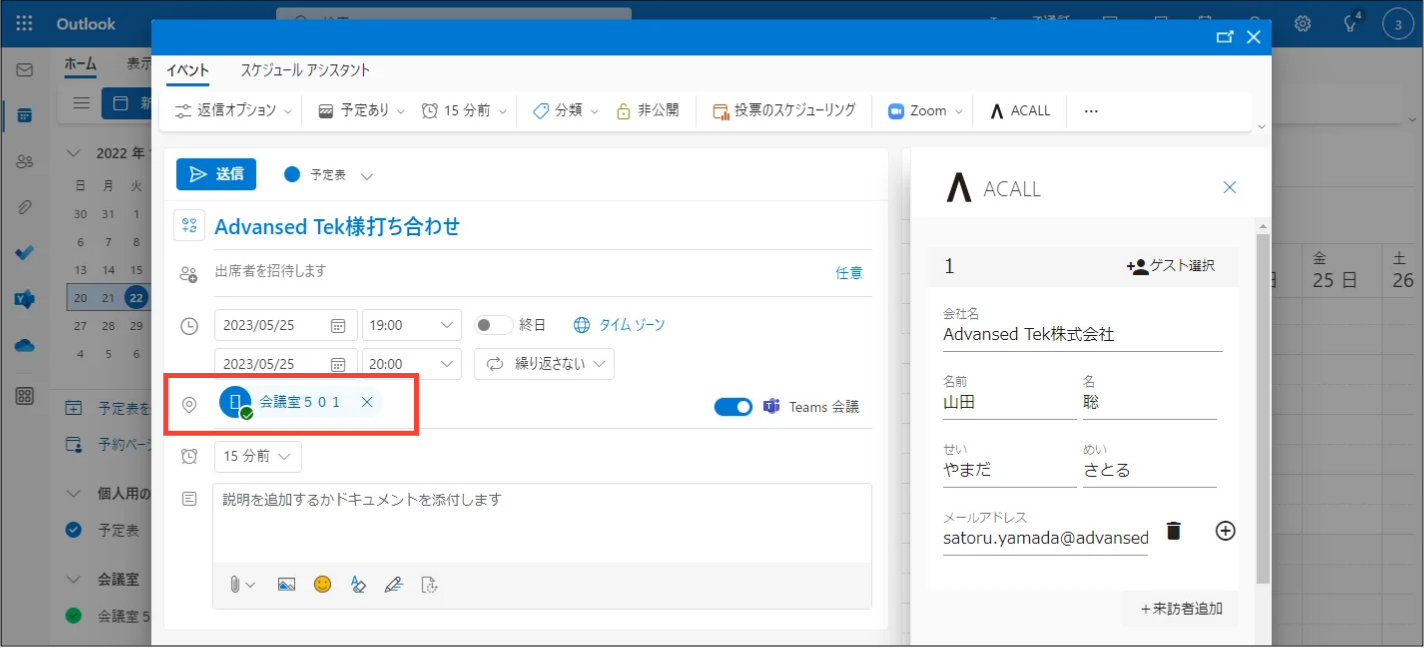
1. Open create appointment screen on Outlook Calendar
2. Select a meeting room for appointments
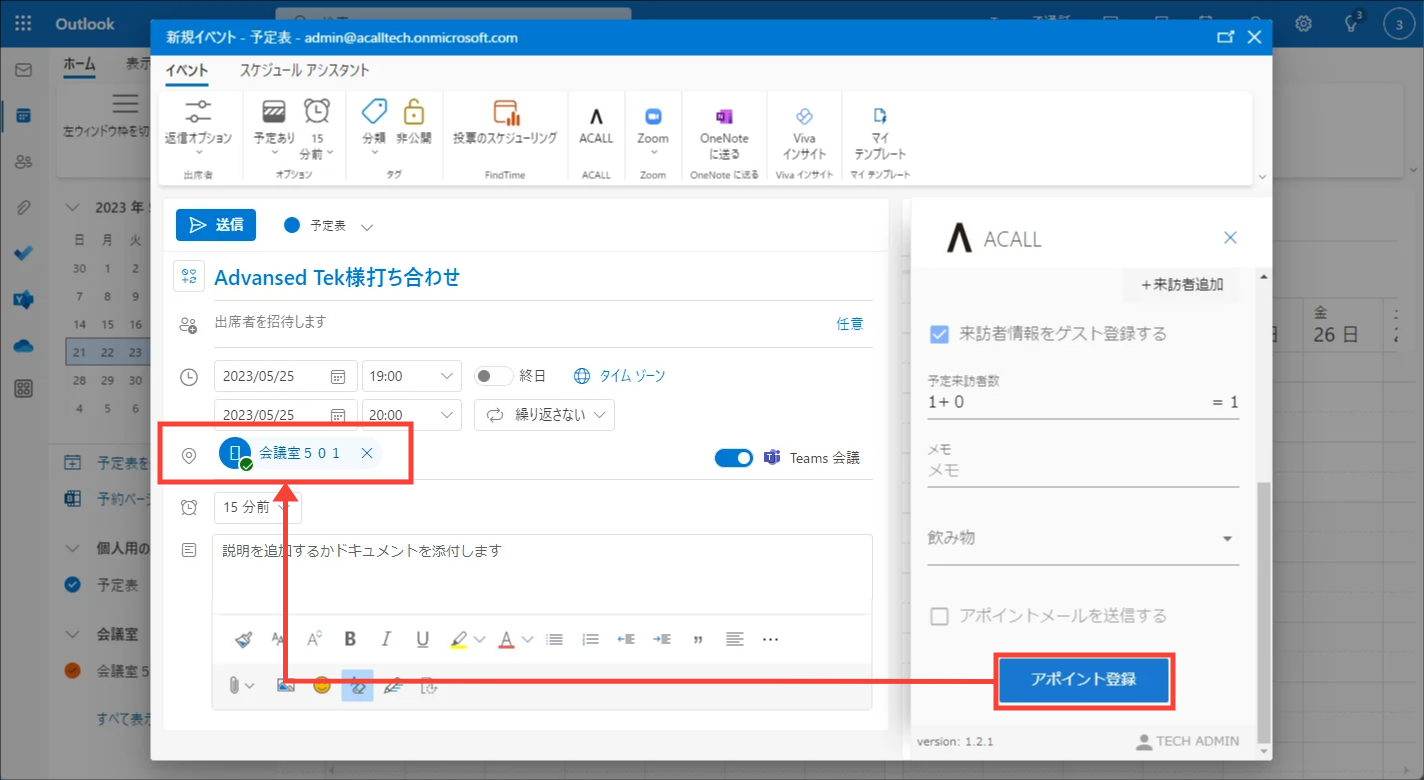
3. Enter guest information on Acall add-in and click [Register Appointment] button.
4. Save
In Method A, meeting room is automatically selected when [Register Appointment] button is clicked in step 3, so there is no need to select a meeting room in step 2.
Customers selected "Create reservation on Acall" as meeting reservation method
In the case of Method A, meeting room for appointments will not be displayed on the "Reservation" screen on Acall.
Create a reservation via [ + Add New ] in the upper right corner of the screen.
In Method A, reservation information is not displayed on the "Reservations" screen on Acall.
Please check the information on "Guest Check-in" screen or "My Page".
In the case of Method B, select one of the available meeting rooms for appointments on "Reservations" screen on Acall and make an appointment.
Allow overlap
Settings on Microsoft 365
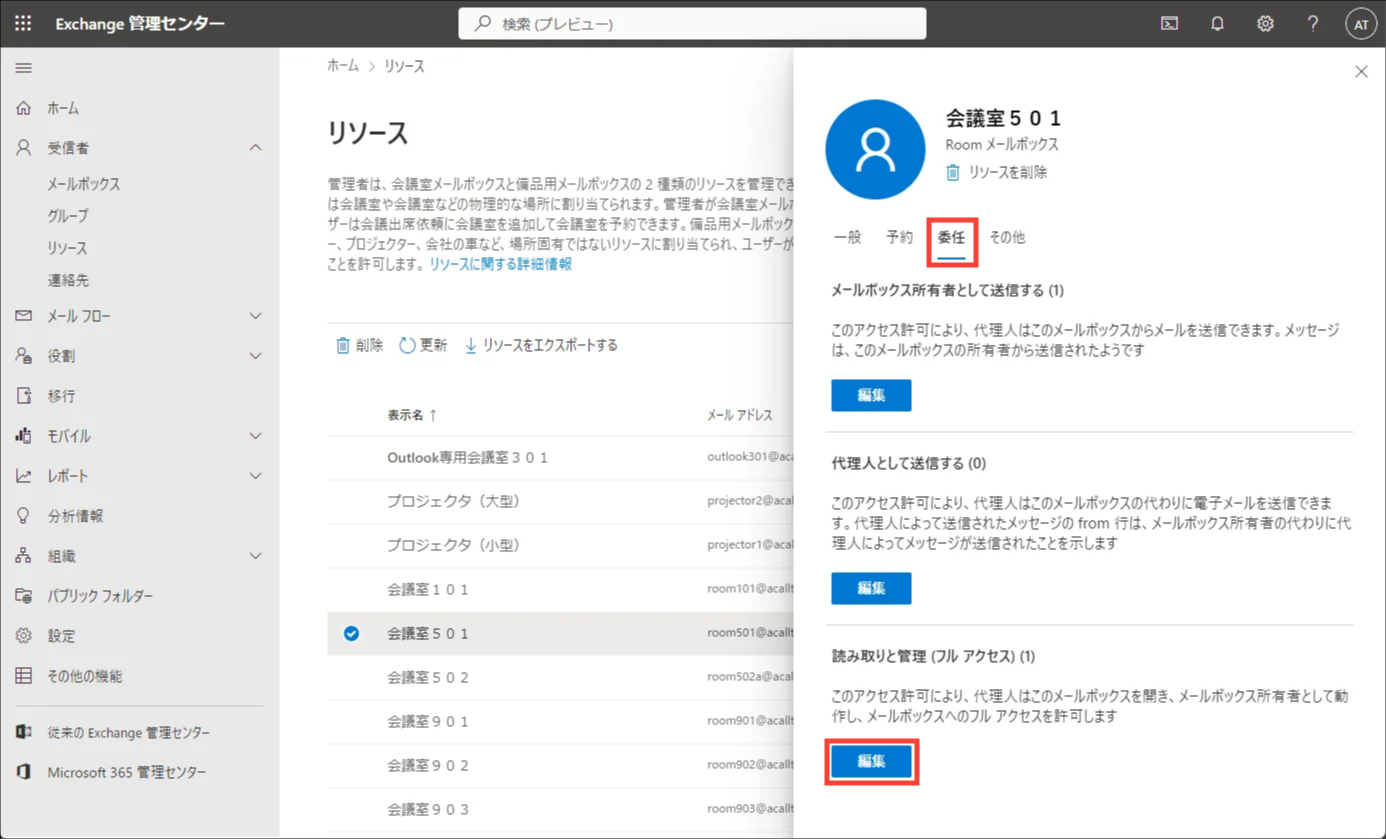
Open meeting room screen in Exchange Admin Center, click [Delegation] tab and click [Edit] under Read and Manage (Full Access).
Click [+ Add Member].
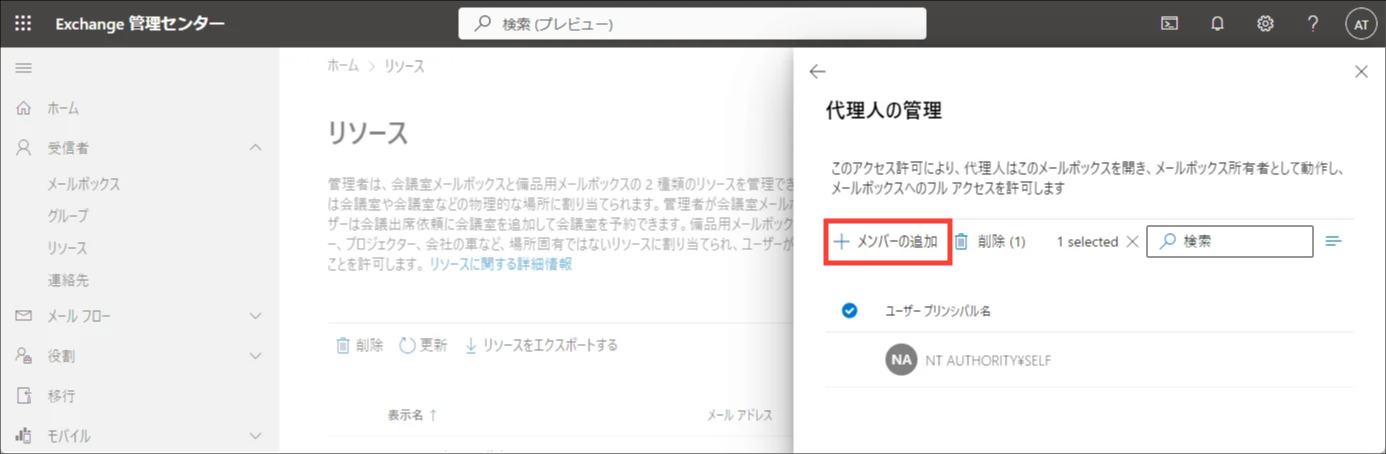
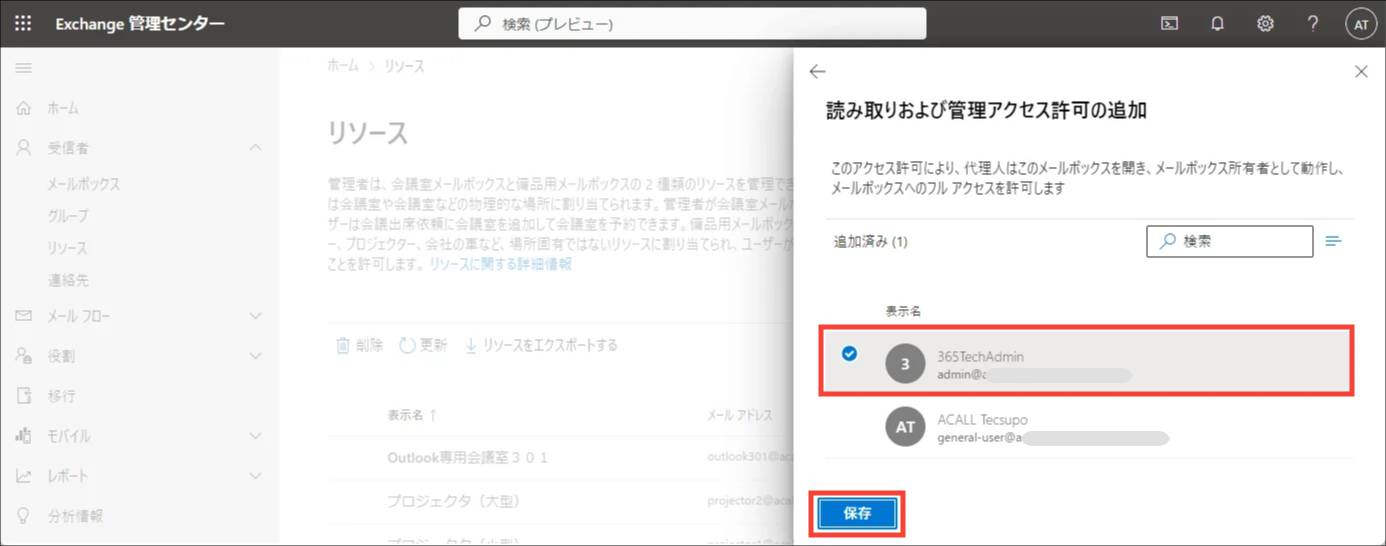
Select the currently operating user and click Save.
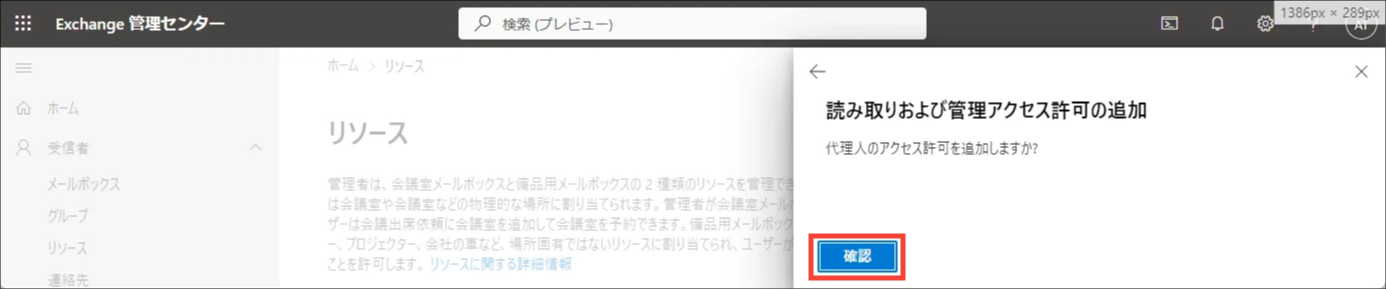
Click [Confirm].
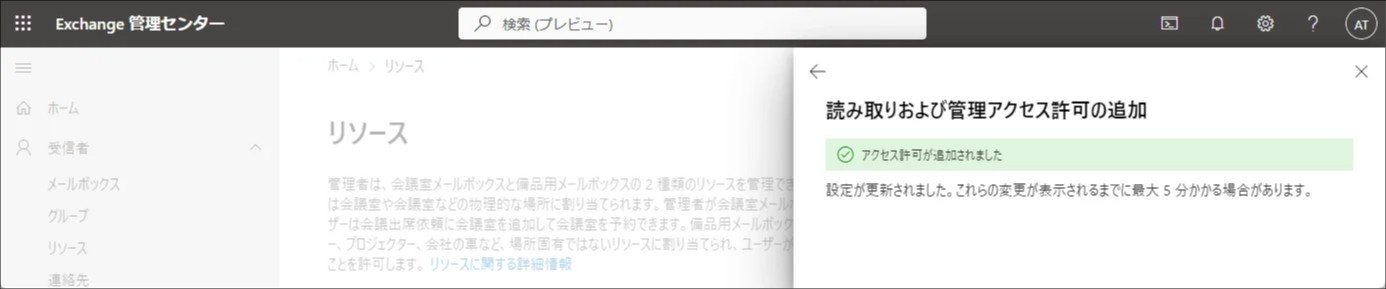
"Access Permissions Added" will be displayed.
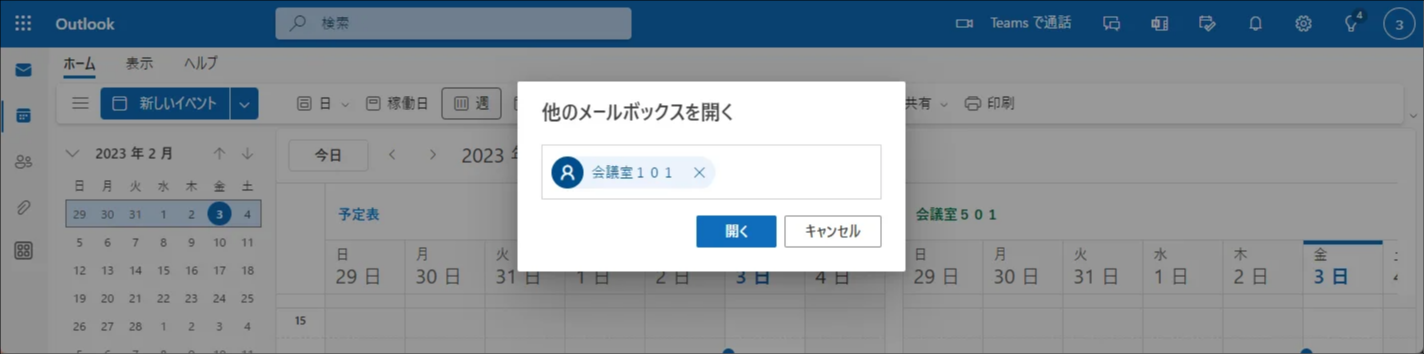
Next, open Outlook calendar and click [Open another mailbox] on the top right corner.
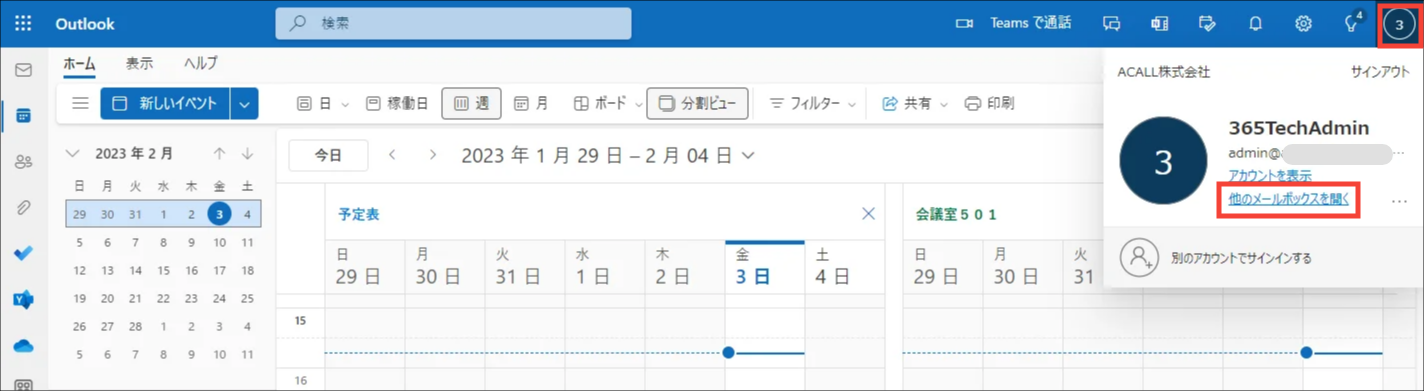
Opens a meeting room which has delegate setting.
💡 Note
If an error occurs and the meeting room schedule is not displayed, please check back after some time.
It may take time for the delegate settings to reflect.
Once the meeting room schedule is displayed, click on the gear icon on the upper right corner and click "Show All Outlook Settings".
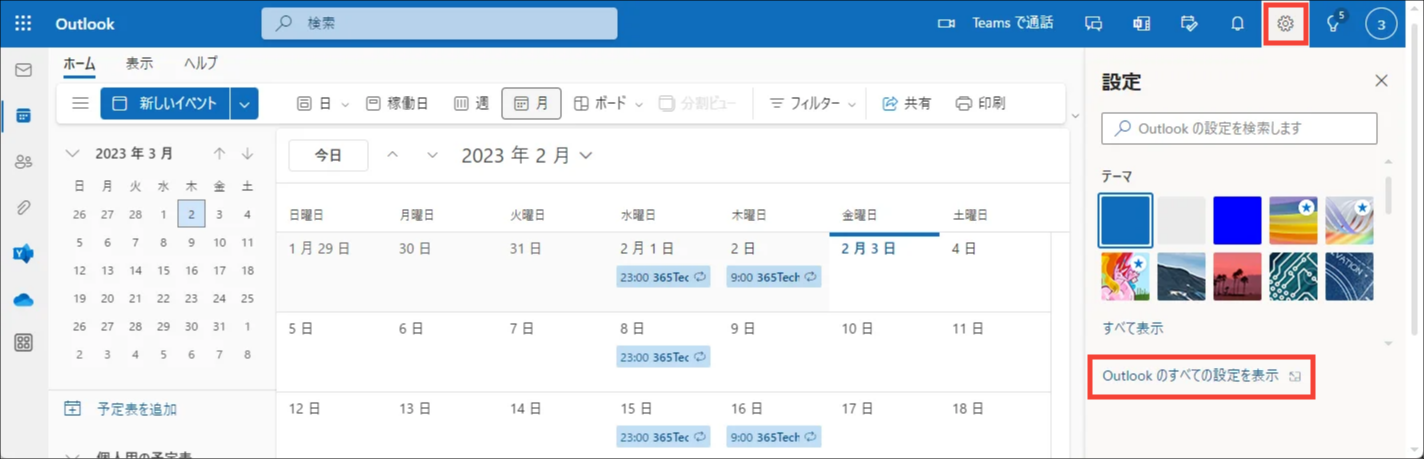
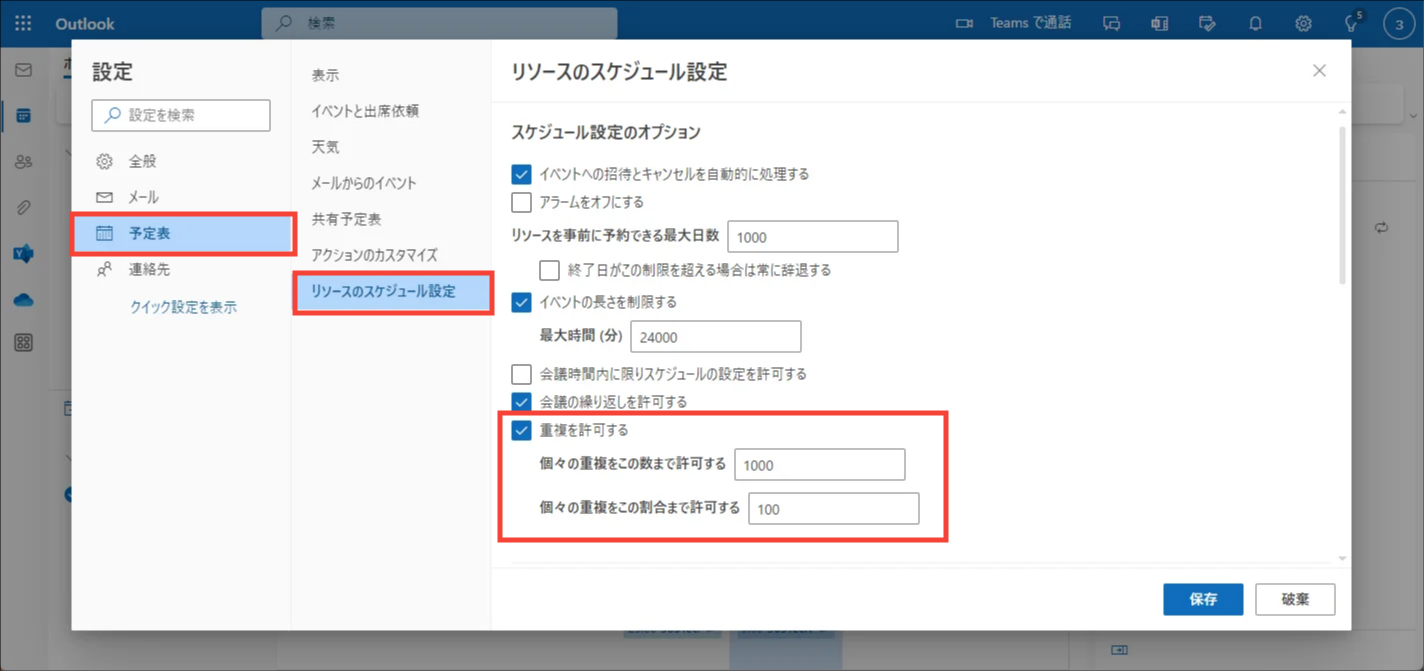
Set up and save as follows in [Calendar] > [Resource scheduling].
| Item | Value |
| Allow Conflicts | ON |
|
Allow up to this number of individual conflicts |
1000 |
|
Allow up to this percentage of individual conflicts |
100 |
💡 Ref: Microsoft 365 document: Create and manage room mailboxes - Change resource scheduling settings
Setup on Microsoft 365 is complete.
Settings on Acall
Open the edit screen of the imported workspace and turn ON "Available Concurrently" toggle.
💡 Note
Workspaces with "Available Concurrently" toggle ON will not be displayed on "Reservation" screen on Acall.
You can check guest information on "Guest Check-in" screen and "My Page".
It may take up to 24 hours for the meeting room for appointments to be available.
Please allow extra time.
Creating meeting room for appointments for Outlook is complete.
💡 Outlook Calendar linking setup guides
All customers
 1. Link Acall and Outlook Calendar
 2. Connect Workers with Outlook Calendar
 3. Import Meeting Rooms and Equipment from Outlook
Customers make reservations on Outlook
 4. Create Meeting Room for Appointments on Outlook (This article)
Comments
0 comments
Article is closed for comments.